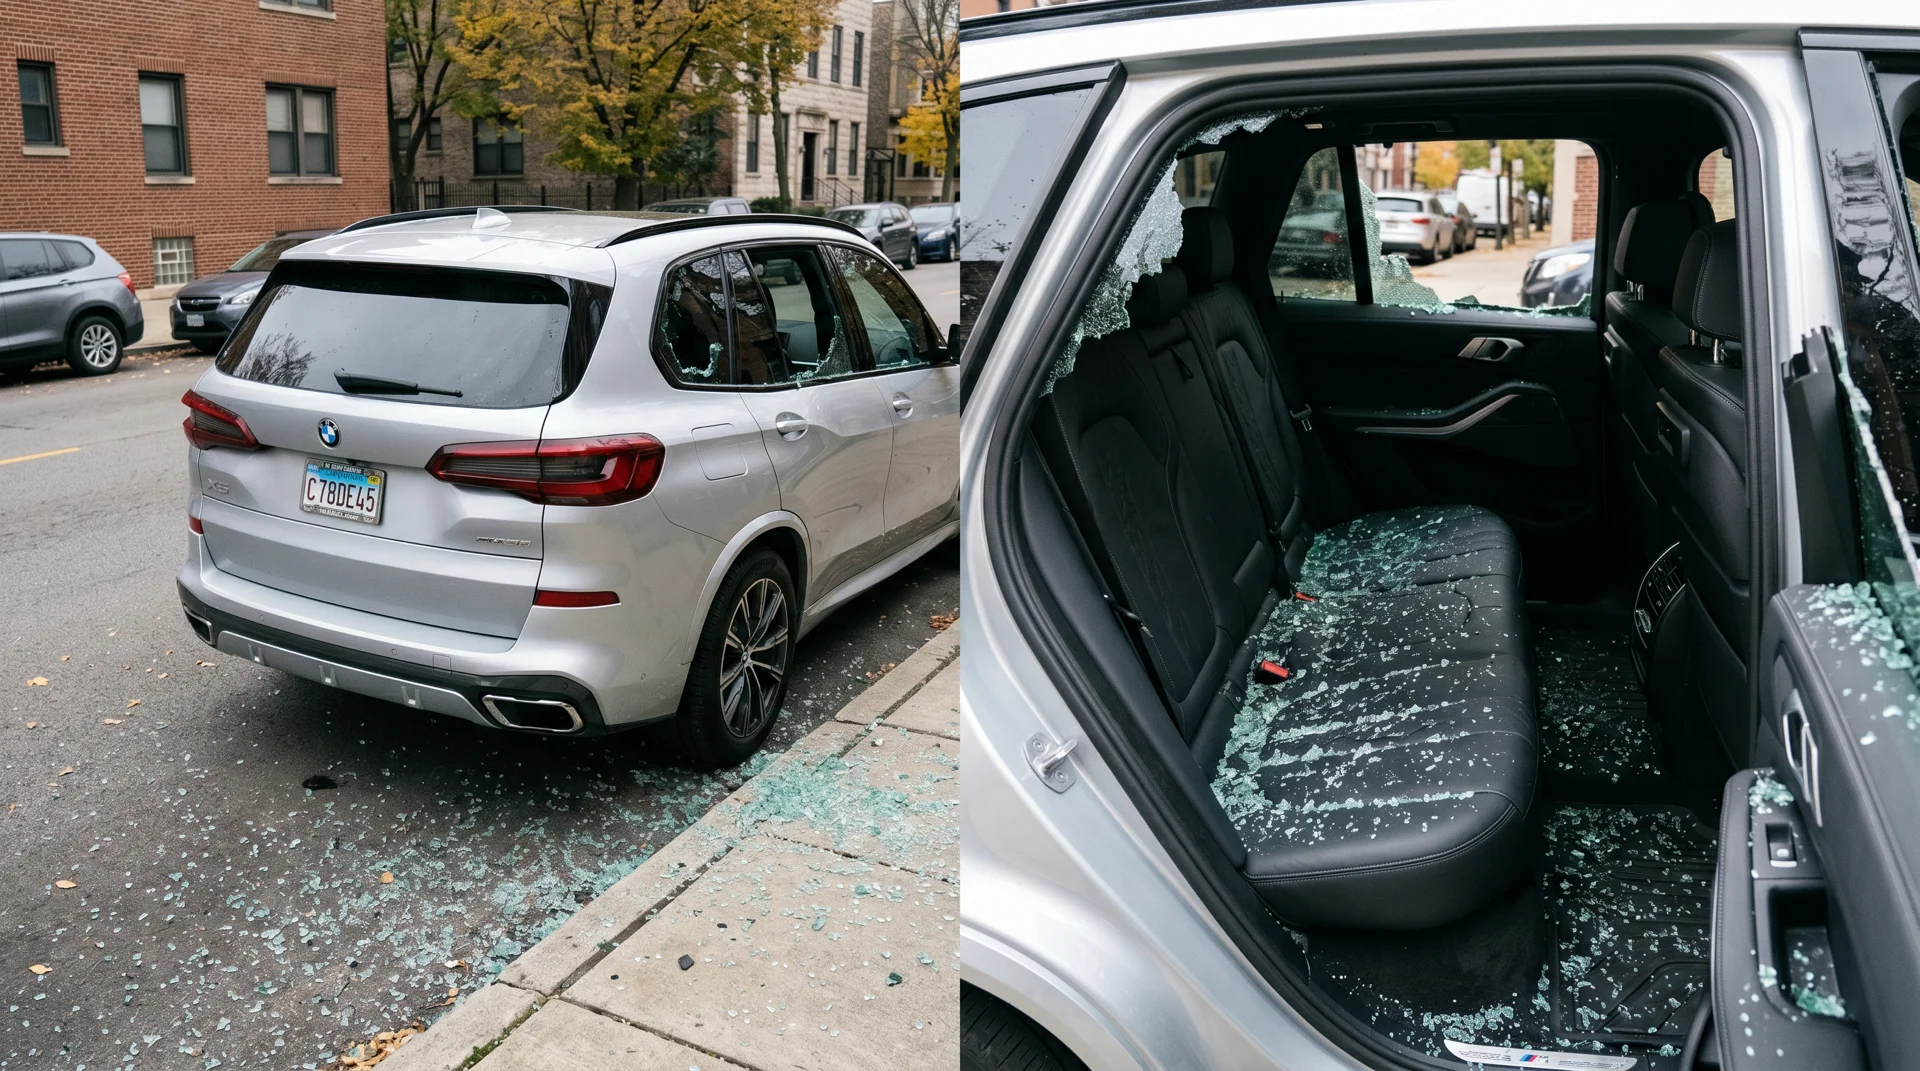
After a smash-and-grab, most people glance at the new window, missing what really matters until it’s too late.
The real quality of a car’s side window replacement is set before the new glass is installed. Even after the visible shards are gone, the door can still hide chips, dust, and slivers that can cause problems later, like grinding tracks, rattling, or turning a quick fix into a return visit.
In Spokane, I often see rushed side-window repairs that look fine from the outside but fail as soon as you open the door. This points to a common misconception in these repairs.
The New Glass Is Not the Risk
You might think the glass is the hardest part to deal with, but it’s not.
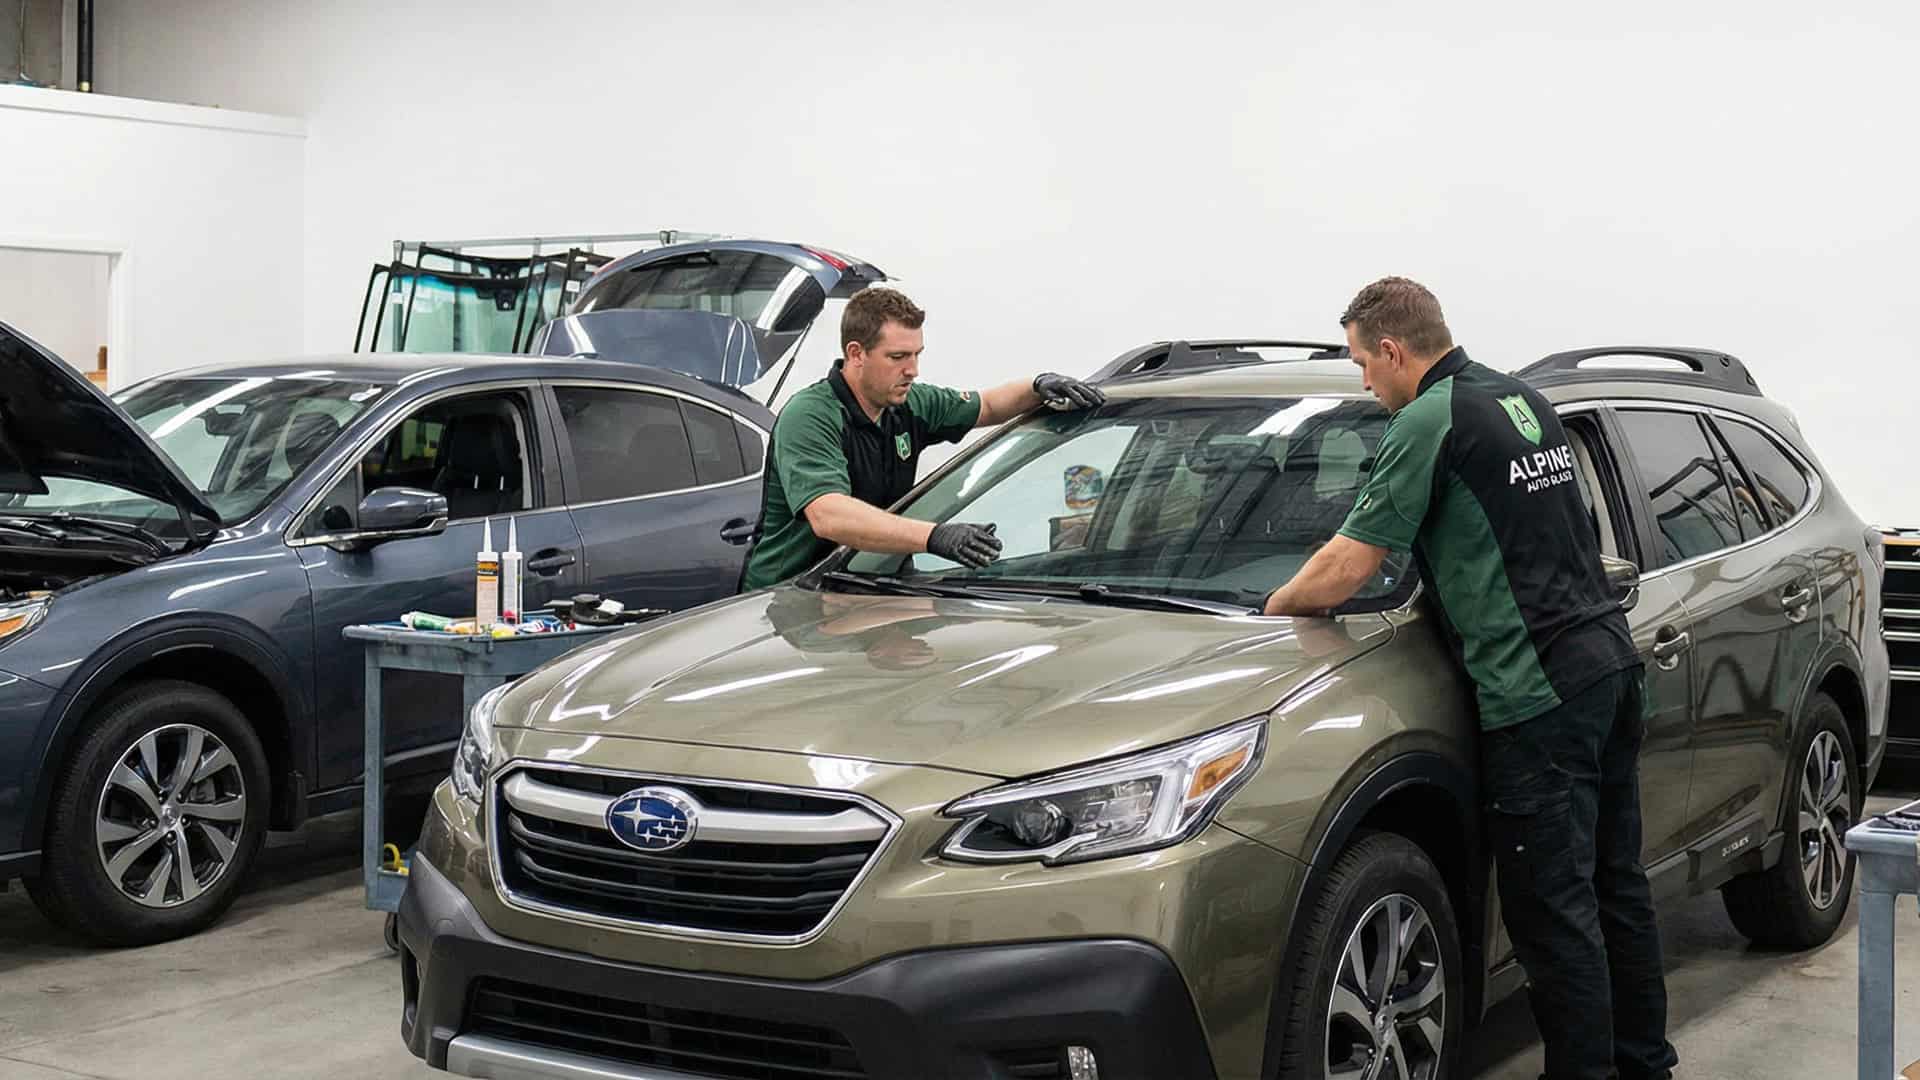
For most vehicles, installing a new pane is usually straightforward when the correct glass is available. The real challenge lies in removing shattered tempered glass from hard-to-reach spots.
When a side window breaks, glass can get into seat seams, carpet, weatherstripping, speaker pockets, the door bottom, and even into the regulator path.
If a shop treats cleanup as just a courtesy rather than a key part of the repair, the new window might work at first but soon become noisy, slow, or scratched. That’s the difference between a real replacement and an unfinished job. Understanding the cleanup process is crucial.
Two Vacuum Passes Change the Repair
The first vacuum pass is for the obvious mess. It clears the cab so nobody keeps sitting on glass, and it removes the larger fragments that would otherwise keep migrating across the interior every time the vehicle moves.
The second pass is the one most people never see.
It happens after the trim comes off and before the new glass goes in, when the tech can reach the bottom of the door, the channels, and the corners where tempered glass collects.
Door cavity glass removal is not cosmetic work. It protects the regulator, reduces rattles, and keeps stray fragments from chewing up the felt guides that the new glass has to slide through.
Inside the Door Is Where Bad Repairs Show Up
A side window doesn’t break cleanly. It shatters into hundreds of small cubes, and gravity takes over. Some pieces fall into the cab, but many drop past the beltline into the door shell, settling around the regulator, lower track, drain area, and any spot that can trap debris.
This matters because the door is a moving system, not a storage bin. Every time you use the window, vibrations move leftover glass. Slamming the door shifts fragments around. A few pieces at the bottom can cause rattles, and smaller chips get pulled into the channels.
Glass dust mixes with moisture and dirt, turning into an abrasive that prevents the new window from moving smoothly. The repair might look finished, but the door tells a different story.
We see this after rushed replacements, where the seat is vacuumed, the glass swapped, the switch checked, and the tech moves on.
A week later, the owner may hear rattles, notice slow window movement, or see fresh glass chips after panel contact. No one wants extra noise.
If you manage a sales fleet, service van, or executive car, hidden glass isn’t just a small problem. It leads to more downtime, extra appointments, and drivers wondering why the repair already sounds off.
In older vehicles, leftover glass can clog drain paths, allowing moisture to build up where it shouldn’t. In newer cars, it can mess with trim fit and make the door feel cheap, even if the installation was done right. It’s rarely the new glass that fails first—it’s the cleanup.
Fast Service Still Needs a Slow Middle
Most business owners just want the vehicle secured and back on the road after a break-in. That’s understandable. But the slowest part of the job should be the cleanup, not the paperwork or ordering the glass.
If cleanup is rushed to save 15 minutes, you’ll pay for it later with noise, regulator wear, and another trip to the shop. That’s a bad deal for one truck and even worse for a whole fleet.
What a Good Cleanup After Side Window Replacement Should Include
For a proper cleanup after broken side glass, you have to go beyond just the visible surfaces. I want the seats, carpet, console edges, and weatherstrips cleared first to protect the driver.
Next, the interior panel should come off so the bottom of the door can be vacuumed, the channel checked, and any trapped glass removed from around the regulator and latch.
After that, the installation path is important. The felt guides should be checked for glass chips, and the drain openings should be clear. Any torn vapor barrier or damaged clips from the break-in should be fixed before the panel goes back on, or the car leaves with a new problem.
A good side window replacement in Spokane is quiet. There’s no crunch, no mystery rattle, and no little glass cubes showing up in your cup holder days later.
Ask About Cleanup Before You Approve the Job
Most estimates include the glass, labor, and sometimes mobile service. Few mention contamination inside the door, even though that’s where poor work shows up first.
So ask a simple question: after a smash-and-grab, do you do one vacuum pass or two? Does the second happen with the door open before the new glass goes in? Insist on hearing their exact cleanup process—don’t settle for a vague answer.
Trust the shop that provides a clear answer and explains their process. Make it clear that you expect a thorough, inside-and-out cleanup before you agree to the repair.
After a break-in, remember: proper cleanup under the beltline makes the difference between a lasting repair and ongoing problems. The visible glass is just the start—the real work, and what keeps the door quiet and smooth, happens inside.